
The best step-by-step facial self-massage routine
Learn how to do a facial self-massage at home, area by area — forehead, eyes, cheekbones and neck. Firms, relaxes and has a lifting effect in 10 minutes. We’ll show you how!

The facial self-massage has stopped being just a beauty secret and is now an essential new step in any skincare routine. Beyond whatever social media might claim, its success is down to pure logic: it is an extremely easy technique to work into your daily routine, it hardly requires any accessories, and feels like a genuine treat for your skin.
Having said that, it is worth being realistic about its effects. A self-massage does not replace dermatological or medical aesthetic treatments, nor does it permanently remove wrinkles or flabbiness. However, when done consistently and with the right technique, it can help relax the muscles, stimulate surface microcirculation and help cosmetics spread more evenly over the skin.
What facial self-massage is and what it is for
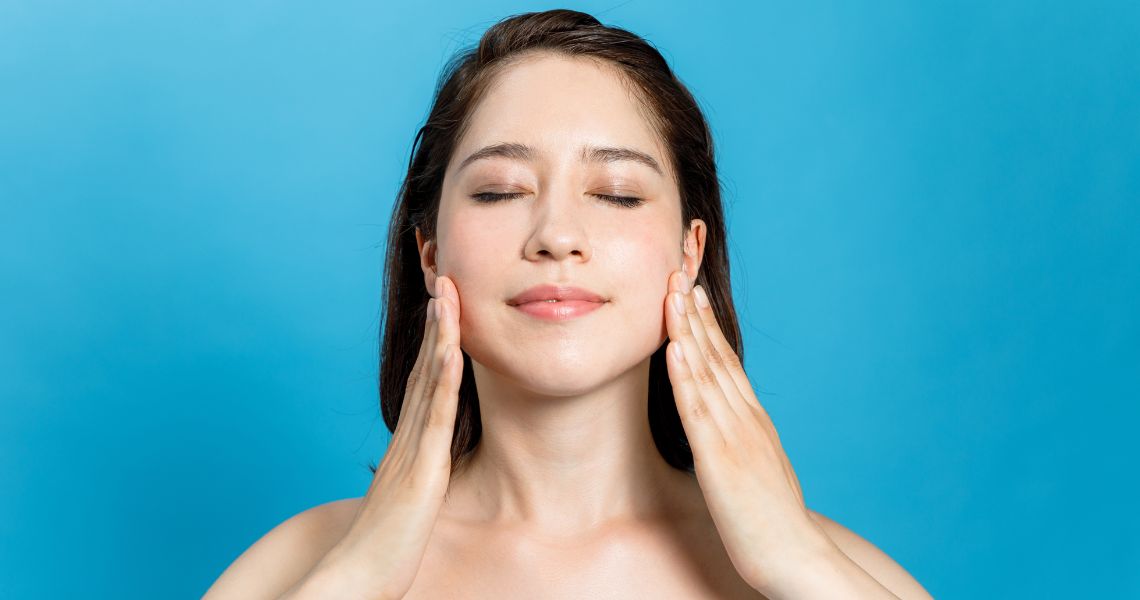
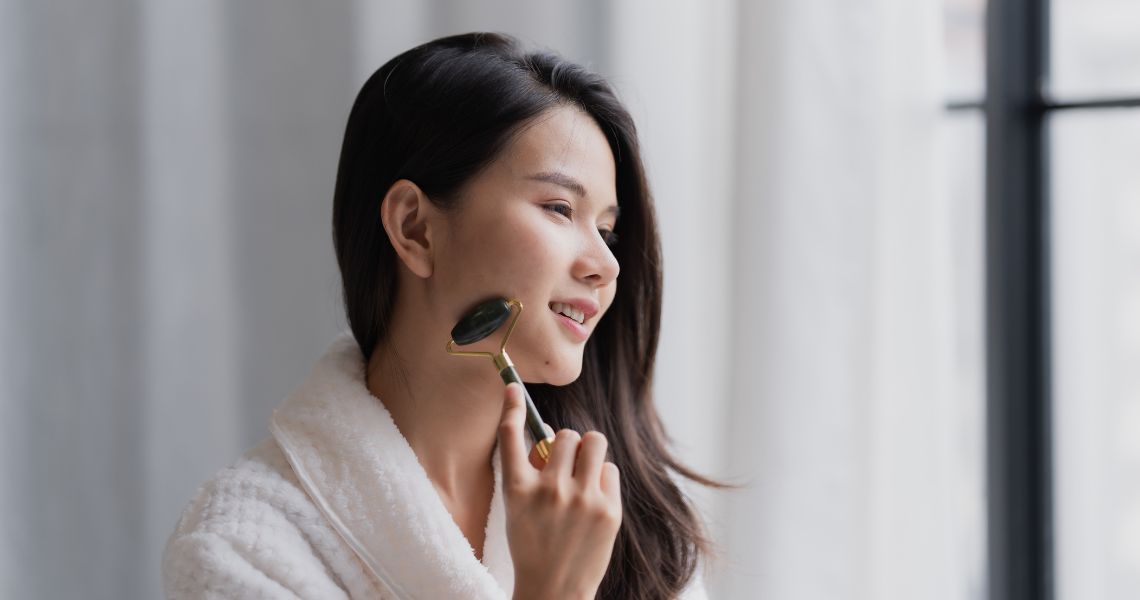
A facial self-massage involves gentle movements over the face and neck using our hands or implements such as a jade roller or quartz stone. The aim is not to apply pressure, but to stimulate the tissues through slow, upward movements that always respect the fragility of our skin.
Benefits of facial self-massage
Its main benefits include the following:
- It helps relaxation. Many people build up tension in the brow, jaw or temples. Massages can help relieve that feeling of tightness.
- It stimulates microcirculation. This can give the face a brighter, healthier-looking appearance (although only temporarily).
- It reduces morning puffiness. It is only normal to wake up with a slightly puffy face. These gentle movements help move fluid retained overnight towards the body's natural drainage points, easing that feeling instantly.
- It improves the application of cosmetics. Massaging an oil or cream into the skin spreads the product more evenly and avoids friction on dry skin.
- It promotes wellbeing. Spending a few minutes on self-care also helps reduce everyday stress.
What you need before starting the self-massage
Before doing any facial self-massage, you need to get your skin ready properly to avoid any irritation.
Follow these steps!
- Wash your face thoroughly with a cleanser suitable for your skin type.
- Wash your hands too.
- Apply a few drops of facial oil or a serum that slides well on your skin. If you only use a very light cream, you may find there is too much friction.
- If you use a roller or a jade stone, make sure it is clean before each use.
Stand in front of a mirror the first few times to check the direction of the movements.
Remember that you should always only apply gentle pressure. The massage should never be painful or leave lasting marks.
Self-massage of your forehead and brow
The forehead is one of the areas where we build up the most tension, especially when we spend many hours in front of a computer or frown without realising it.
- Place your fingertips in the centre of your forehead.
- Slide them slowly towards your temples.
- Repeat the movement six to eight times.
- Then massage the brow area with small circular movements for a few seconds.
- Finish by tracing upward strokes from your eyebrows to your hairline.
This helps relax the forehead muscles and leaves a pleasant feeling of relief.
Self-massage of your temples and eye area
The eye area requires special care because the skin in this area is much thinner than the rest of the face.
- Use only your ring fingers, as they apply less pressure.
- Start at the inner corner of the eye.
- Gently slide your finger under the eye until you reach the temple.
- Continue above the eyebrow to complete a circular movement.
- At the temples, make small circles for a few seconds.
Important: avoid dragging the skin or pressing on the eyeball.
Self-massage of your cheeks and cheekbones (lifting effect)
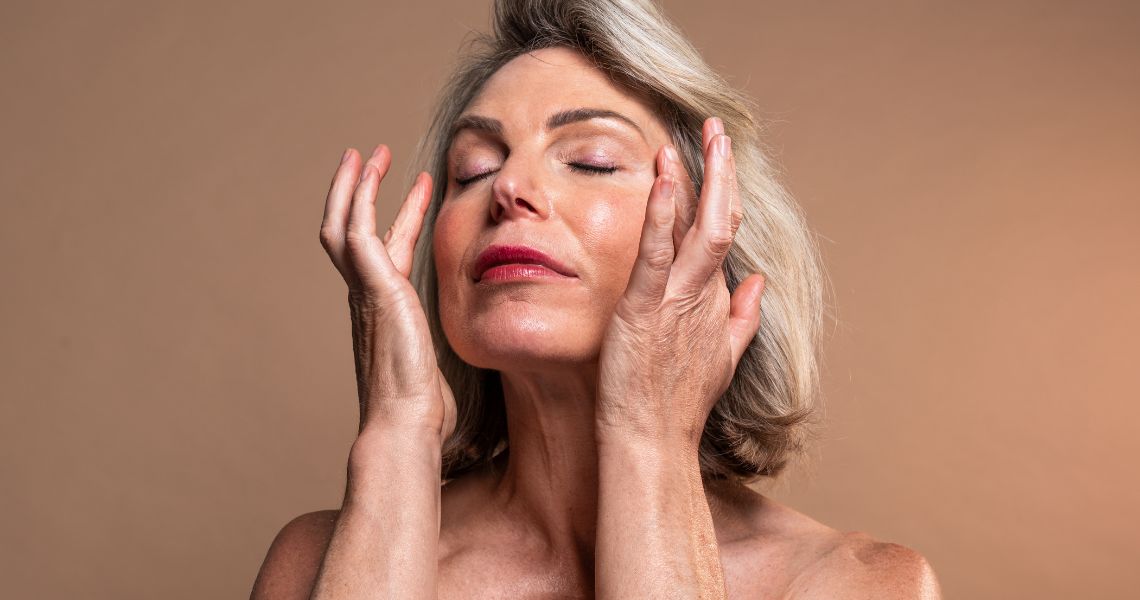
This is probably the most well-known area for facial self-massage because of the immediate firming effect it can provide.
- Place both hands next to your nose.
- Slide them towards your cheekbones in upward movements.
- Continue up to your temples.
- Repeat eight to ten times.
- Then make sweeping movements from the jaw towards the cheekbones, following the same upward direction.
After the massage, it is common to notice the skin looking more lively and slightly fresher, thanks to the temporary boost in surface circulation.
Self-massage of your mouth area and lip lines
Tension also builds up in the area around our lips, especially in people who clench their teeth or whose faces are particularly expressive.
To massage this area:
- Place your fingers on either side of the corners of your mouth.
- Slide them towards your cheeks.
- Repeat several times without stretching the skin too much.
- On the so-called “lip lines”, make very gentle small circular movements with your fingertips.
The key is to avoid sudden movements or too much pressure.
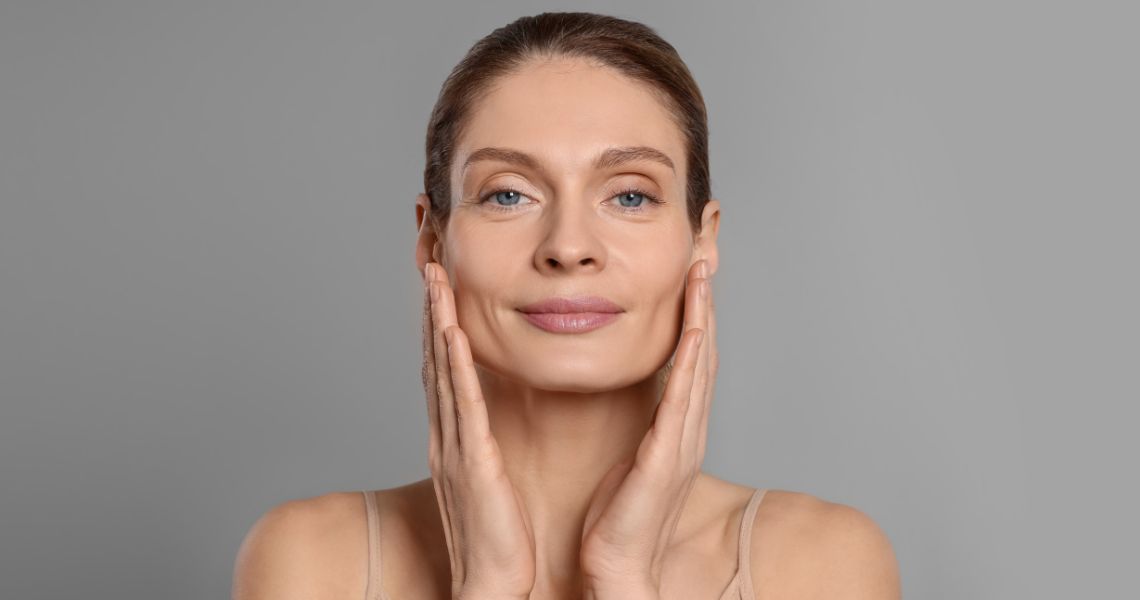
Self-massage of your neck and chin area
The neck is often forgotten in a facial routine, but it is part of the same anatomical unit and, of course, deserves the same care.
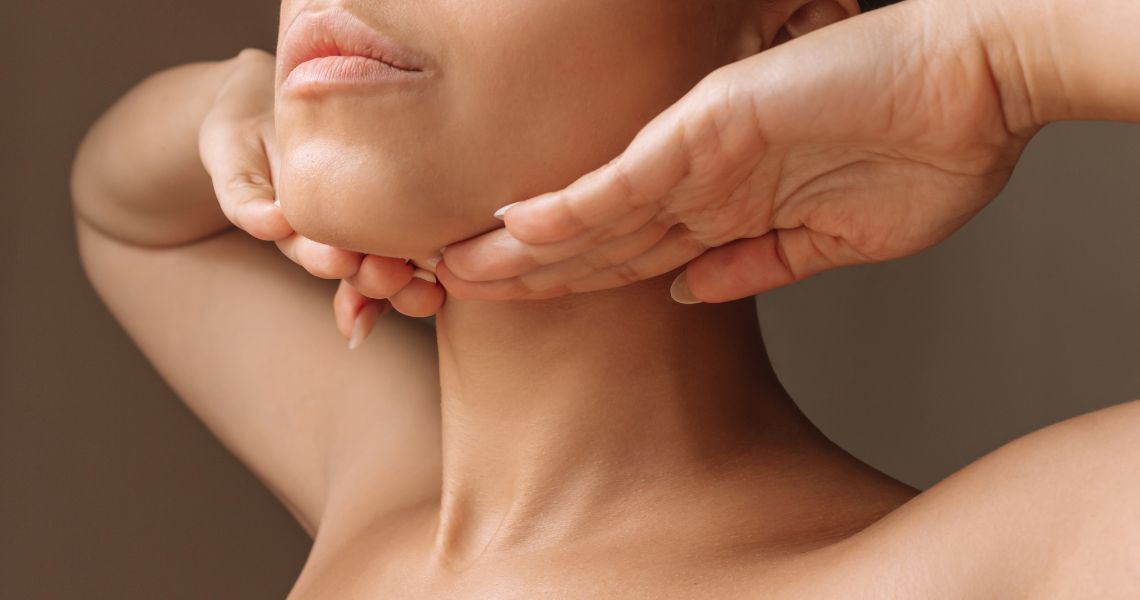
- Start at the base of your neck.
- Slowly slide both hands upwards towards your jaw.
- In the chin area, make upward sweeps from the centre towards each side of the face.
- Finish by sliding your hands from behind your ears down the sides of your neck applying very light pressure.
These movements help complete the massage and create a very pleasant feeling of relaxation.
Contraindications and mistakes to avoid
Although facial self-massage is a safe technique for most people, there are situations when it is best avoided or a dermatologist should be consulted beforehand.
It is not recommended if you have:
- Considerable inflammatory acne.
- Open wounds or burns.
- Skin infections.
- Active rash flare-ups (especially if the massage worsens the redness).
- Recent aesthetic procedures, unless expressly advised by the professional who performed them.
On the other hand, the following are the most common mistakes that should be avoided as far as possible:
- Applying too much pressure, thinking it will be more effective.
- Massaging completely dry skin.
- Stretching the skin abruptly or roughly.
- Using implements that have not been cleaned.
- Expecting permanent results similar to medical treatment.
Consistency, correct technique and realistic expectations are the best combination for enjoying the benefits of facial self-massage. Spending just ten minutes, two or three times a week, can become a simple wellbeing ritual you will not want to give up. Finally, remember not to overlook other habits backed by solid scientific evidence, such as the daily use of sun cream, proper cleansing and a skincare routine suited to your skin’s needs. How about giving it a try?
What do you think about?
Share comments, opinions and tricks with the Community