How to do a French plait: step-by-step
Easily and quickly learn how to do a French plait: step-by-step, and end up with a beautiful, elegant style suitable for any special occasion. Don’t miss out!

The French plait is one of the classic, most versatile hairstyles, and it has also become one of the latest trends. To do it, you just have to weave locks of hair from the top of your head and add them gradually at each crossover, leading to an elegant, sophisticated and very practical look.
We are going to tell you how to do this style with an endless number of possibilities. A French plait for girls is a perfect everyday or special occasion style, but it is not the only one. It is also wonderful for music festivals this summer, for going out for drinks, or even keeping your hair out of the way while doing sport.
How to do a French plait properly?
- Before starting to do any hairstyle, we need to make sure our hair isn’t knotted. Therefore, the first thing is to brush or comb our hair properly.
- Take a thick lock from the top of your head, starting at the line where your hair starts to grow as the reference, and split it into three equal sections.
- Start off doing a normal plait, crossing the right hand side lock over the middle one, and then the left side lock over the middle one. Use your fingers to straighten it out to prevent any unwanted lumps.
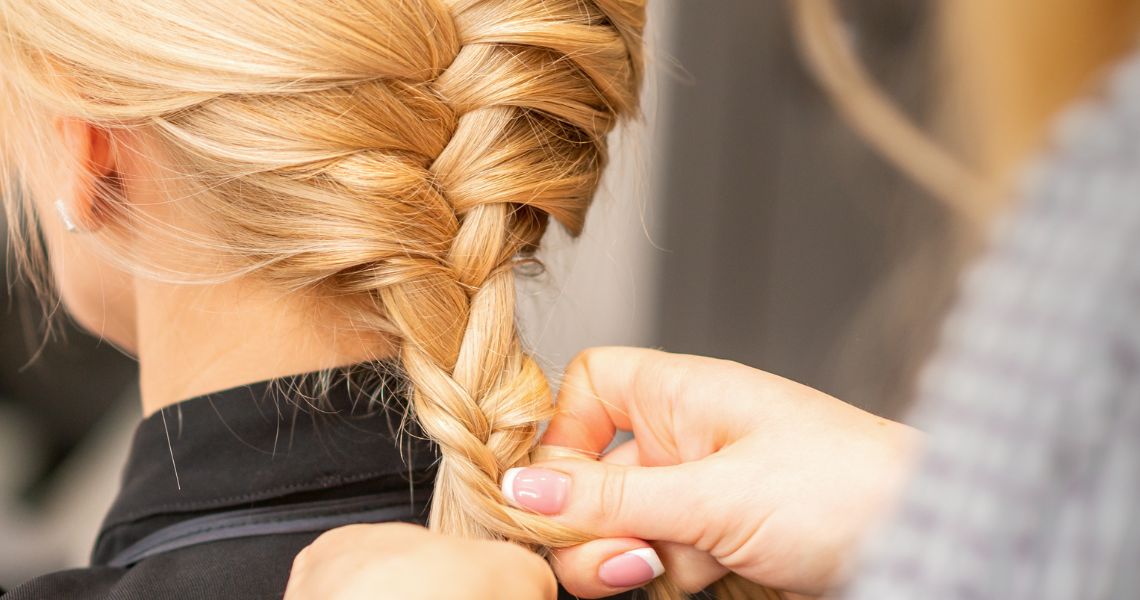
- Now it’s time for the key! You need to start adding locks of hair as you go. Before crossing one lock over the middle one, take some hair from the side and add it to the lock that is going to cross over, so that you keep adding hair to each weave. That is what gives the French plait its characteristic woven look.
- Repeat the process adding another lock of hair to the one you already have, each time you pass one over the other. When you reach your nape and there is no more hair to add, carry on as if it were a normal plait to reach the end, and then secure it using a hair band.
Although it may sound easy, there is a trick to making a perfect French plait, and you will need to practice to give it a natural look. If you want some extra volume, you can use your fingers or a comb to gently pull any locks for a more casual, surfer look.
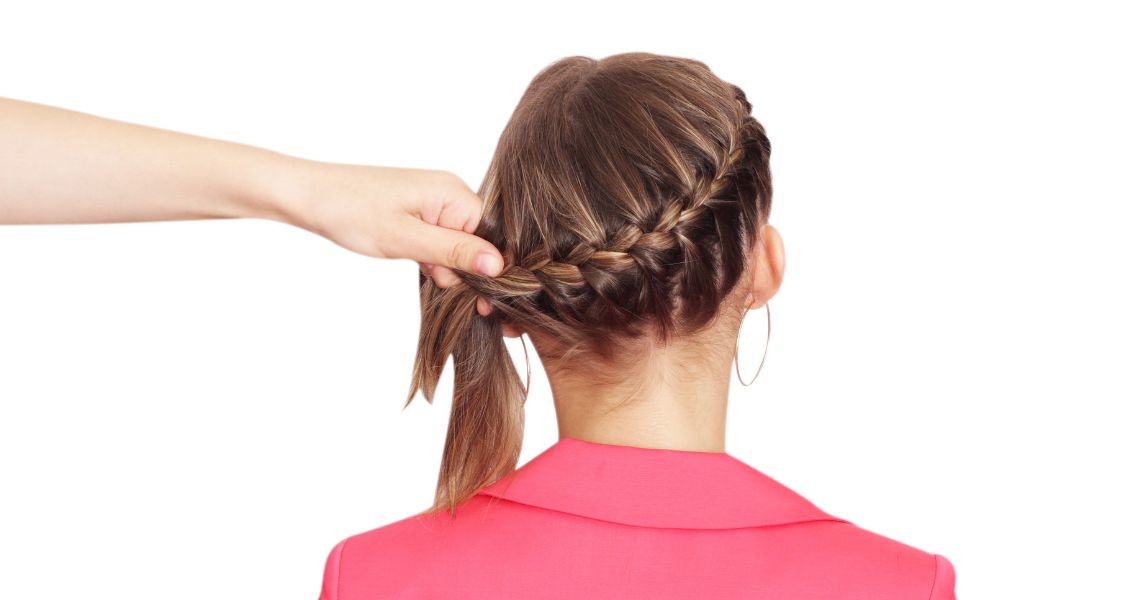
How to do a side French plait?
Once you know how to do a normal French plait, doing a side French plait is even easier.
- Instead of taking a lock of hair from the top of your head, take it from the side where you want your plait to be, then split it into three, guiding them towards that side.
- Follow the same process as before: start off as with a normal plait, and add locks of hair each time you pass one over the other, but in this case, only on one side.
- When there is no more hair to add, carry on as if it were a normal plait, and tie it off at the end.
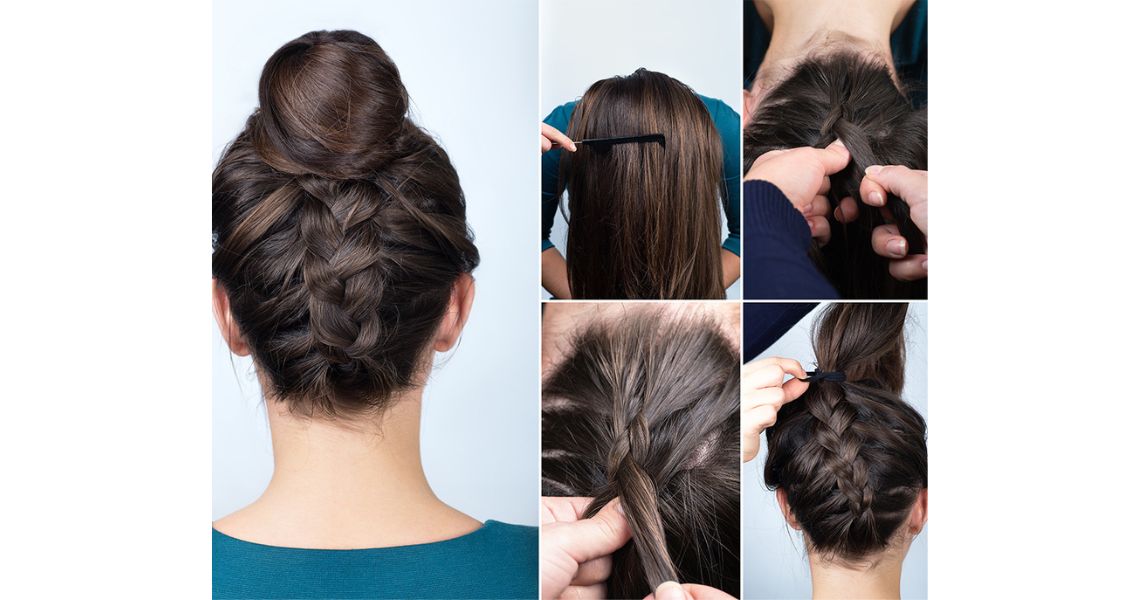
How to do a reverse plait?
The reverse French plait, also known as the Dutch plait, is very similar to the normal French plait, but with a slight change to the technique to create a very different visual appearance. Instead of crossing locks over the central lock, with the reverse French plait, we pass the locks under the middle lock, making the plait stand out more and giving it more relief, as if it were woven.
- Brush you hair and make a centre parting.
- For a more sophisticated touch, start your plait at the nape of your neck. The process is similar to the one already described: take a lock, split it into three and add hair in an upward direction. To make the process easier, we recommend lowering your head.
- When you reach the top part of your head, tie the plait to give it a different look.
The reverse French plait is an original, striking style, although it does require more skill and practice. It is a versatile, professional option that works with any look.
So which French plait do you feel like wearing today?
What do you think about?
Share comments, opinions and tricks with the Community