Strobing: What it is and its technique, step by step
Learn what strobing is, how it is different from contouring, and learn the technique step by step to brighten your face naturally.

Strobing: what is it and how does it work?
This makeup technique came about on the catwalks, and it has become the best kept secret for a perfect glow without the need to overload our faces with thousands of different products.
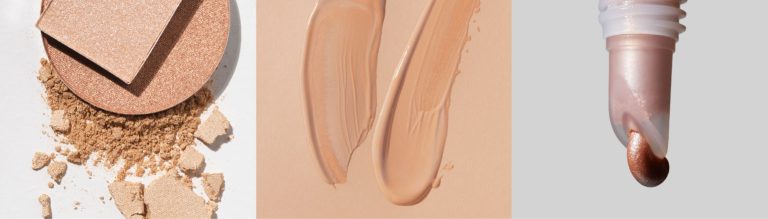
The process is very straightforward: it is all to do with strategically applying highlighter to the areas of our face that naturally catch the light: cheekbones, corner of the eye, arch of the eyebrows, the tip of the nose, chin, Cupid's bow - to sculpture, highlight and give life to our skin.
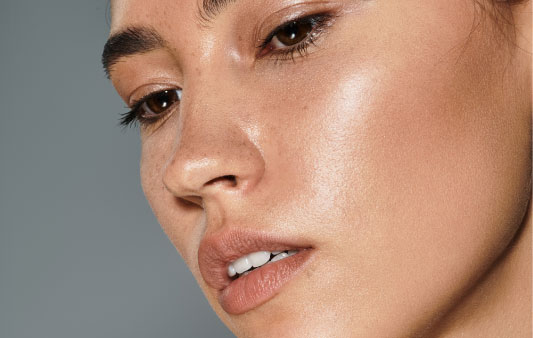
The result: brighter, more radiant skin with a healthier look. The best thing about it is that it is an extremely versatile technique. You can wear it on a daily basis, or save it just for special occasions. It is perfect for events such as daytime weddings, baptisms or first communions, when we always want a smooth, elegant, enhancing look. It is ideal for summer along with our natural tan. Just a touch of highlighter is enough to bring out our shine.
Contouring vs. strobing: differences and when to use them
Like contouring, strobing is a makeup technique that allows us to sculpture and highlight our face, but with a different approach. Contouring uses darker shades to create strategic shadows that hone and define areas such as our cheekbones, forehead or chin, achieving a more structured, sophisticated look. Strobing, on the other hand, uses highlighters to set off the areas that naturally catch the light, such as the middle of our forehead, nose, Cupid’s bow, thus conferring a fresh, brighter, youthful look.
Both techniques can be adapted to different makeup styles: contouring is ideal for people looking for a more marked, defined finish, whereas strobing enhances a more natural, brighter look. Combining them gives us a versatile way to modify and highlight our features according to the desired effect.

Strobing technique step by step for a perfect finish
- Start off by cleaning and hydrating your skin so that it is more elastic and does not dry out as the hours go by. The aim is for you skin to look healthy and bright, which is why preparation is essential.
- Then apply some light makeup foundation so that your skin looks as natural as possible, but without any imperfections. If you have oily skin, choose a matte foundation, to keep shine at bay.
- Apply the highlighter to the areas you want to stand out: cheekbones, nose, eyebrow arch, Cupid's bow... You can also apply it to the sides of your forehead. It is very important to fade it in well for a perfect result.
- Complete the strobing makeup with a touch of pink blusher on your cheeks to achieve that “nice-face” look. You can finish your look by applying makeup to your eyes and lips as you wish. If you prefer a more natural look, just apply some mascara to your lashes and some gloss to your lips.
What do you think about?
Share comments, opinions and tricks with the Community