How to apply makeup with each type of makeup sponge
Find out how to apply makeup with each type of sponge: foundation, concealer or powder. Learn which sponge to use depending on the finish you want.

In today’s beauty market a wide range of makeup sponges is available. From the classic latex versions to the popular oval-shaped foam sponges known as Beauty Blenders, each one is designed for applying different products and achieving different finishes.
In this article we are going to take a look at each type of makeup sponge and how to use them properly in your daily routine. Choosing the right sponge does not only depend on the shape or material, but also the type of product you are using, whether foundation, concealer or cream makeup, and also the result you want to achieve.
We are also going to give you some practical tips to explain what each type of makeup sponge is for and how to make the most of them. Keep reading!
Classical teardrop makeup sponge: how to use it properly
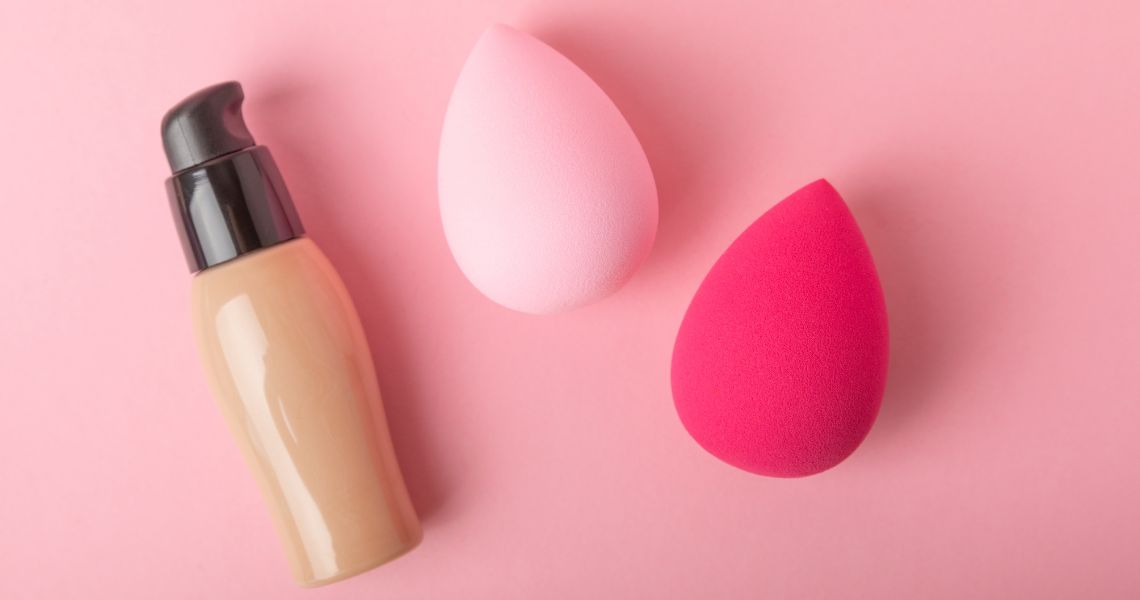
Teardrop makeup sponges are easily recognisable in the cosmetics world. They have become so popular because of their versatility: they can be used to apply different products and adapt to the delicate parts of our face, such as around the nose, the corner of our mouth and the area under our eyes where dark circles form. They are commonly known as Beauty Blenders and are an indispensable item not only in professional makeup kits.
The shape of their design is not by chance: the round base enables makeup to be applied in wider areas such as on the cheeks, forehead or chin, while the fine tip is useful to work on small areas where more care is needed.
The teardrop sponge works particularly well with liquid foundation and BB cream, although it can also be used to apply translucent powder and to seal in makeup with a more natural finish. It allows spreading the product with an effect that is very similar to the one we achieve when applying makeup with our fingertips, but it is easier to do and the result is more uniform.
Flat makeup sponge: ideal for foundation and cream products
Flat sponges allow us to cover the larger parts of our face quickly and accurately, particularly on areas such as our cheekbones or forehead, ensuring uniform application. These makeup sponges are usually round, in the shape of a disc, or triangular and work particularly well with cream makeup foundation, and also liquid products or concealer.
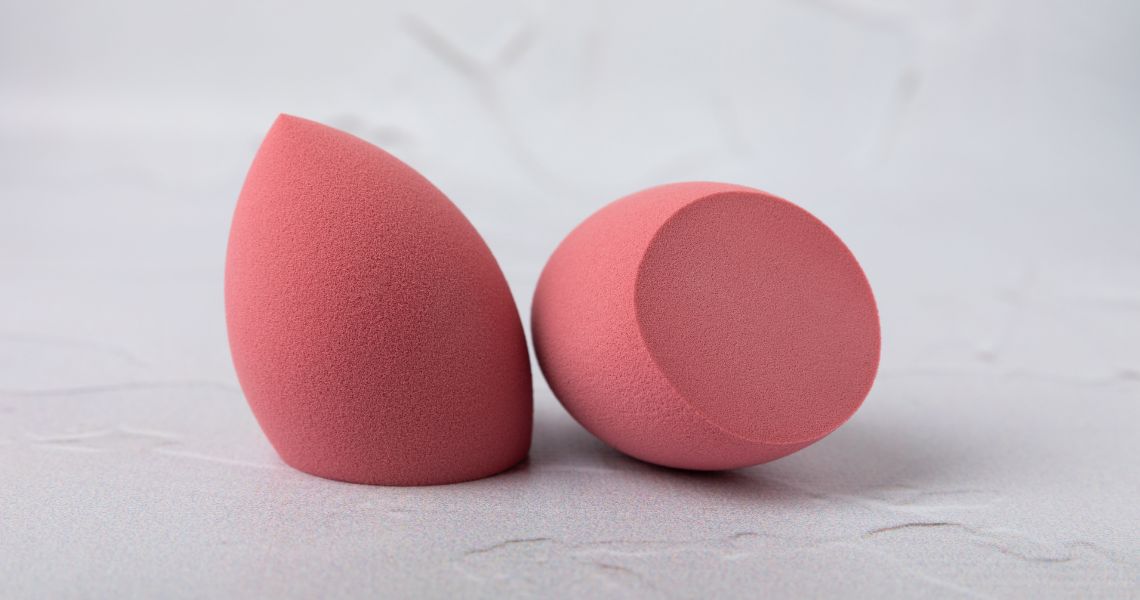
Bevelled or angled sponge: precision and cover
Bevelled or angled sponges stand out for their sloping design, which combines convenience and versatility. The flat part allows covering larger areas, whereas the angle or bevel adapts to the contours of smaller parts of our face, such as around the eyes, nose or eyebrow arch.
This is the ideal choice if you are looking for complete control over how you apply your makeup, and coverage. They are particularly useful for applying foundation or contouring products more accurately.
Makeup sponges: how to use each type and recommendations
To make the most of any of these makeup sponges, you need to know the type of product you are going to apply and keep to some universal tips about how to apply makeup foundation with a sponge. Carry on reading!
- Moisten the sponge before using it. When the sponge absorbs water, it expands slightly and consequently absorbs less makeup, which means the foundation or concealer spreads better, leaving a more natural finish.
- Choose the right sponge for each product. Apply the foundation, concealer or any other product directly on your skin or on the sponge, but always in small amounts to make application easier without overdoing it.
- Spread the product by dabbing rather than dragging the sponge over your face. The “bouncing” technique or gentle dabbing helps to blend the makeup into the skin achieving a more uniform, professional finish. This method achieves a very similar finish to the uniform finish you get when you spread makeup using your fingertips, but you have more control and it can be more accurately.
- Clean the sponge frequently. Makeup remains, oil and bacteria are left behind on these sponges, and therefore we recommend washing them at least once a week using mild soap or a specific cleaner for makeup implements. Rinse the sponge well and leave it to dry in a well-ventilated place. It is important to make sure it is completely dry before you use it again, as the damp in the sponge can enhance the proliferation of bacteria. One professional tip is to have two sponges and alternate between them. While one is drying you can use the other one. This will extend the useful life of the sponge and your makeup routine will be more hygienic.

How long do make-up sponges last?
The useful life of makeup sponges depends on how often you use them and how well you take care of them. In general terms though, a makeup sponge can last approximately 3 months if you clean and dry it properly.
You will notice some clear signs when it is time to change it:
- They will crack and gradually come apart, which means that the material has started to deteriorate.
- Change in texture. When the sponge becomes too rigid or excessively porous.
- If it gives off an unpleasant damp smell or built-up makeup, even after washing it. This is a sign that it has become a focal point of bacteria.
Old, dirty sponges not only affect how makeup is applied, but they can also cause outbreaks of acne or irritation, due to the accumulation of product remains and micro-organisms. Therefore, it is well worth cleaning your makeup sponges regularly and remembering to change them to ensure safe, hygienic application of makeup to your skin.
What do you think about?
Share comments, opinions and tricks with the Community