Fermented vegetables: benefits and a guide to fermenting veggies at home
Discover the benefits of fermented vegetables, tips for fermenting veggies at home, and how to include them in your healthy diet.

Crispy, slightly tangy and full of flavour. Fermented vegetables, from sauerkraut and kimchi to other preparations, have gone from being nearly forgotten traditional foods to starring in today’s healthy cuisine. But what makes them special, and how can we prepare them at home without too much hassle? Let’s find out!
What are fermented vegetables and why are they interesting
Fermented vegetables are vegetables that have undergone a natural lactic acid fermentation process. During this process, the natural sugars in the vegetables are transformed by beneficial bacteria, naturally present in the vegetables and in the controlled environment of the container, resulting in a living food that’s full of flavour and has highly beneficial properties for gut health. In fact, these types of vegetables are believed to improve food digestibility and support a balanced gut microbiota. Additionally, this fermentation, a traditional preservation method, extends the shelf life of vegetables without the need for artificial preservatives. A win-win!
Fermenting vegetables: how the basic process works
Fermenting vegetables is easier than it seems. The most important thing is to create an oxygen-free environment where lactic acid bacteria can thrive. This is mainly done using salt and water, which inhibit the growth of unwanted microorganisms and encourage natural fermentation.
How does it work? You simply need to mix salt and water (20 grams of salt, ideally as pure as possible, per litre of room-temperature water) and stir or shake until fully dissolved. This mixture, known as ‘brine’, should completely cover the vegetables we are fermenting. It’s recommended to carry out this process in a preserving jar, which we will seal and store in a dark place away from heat sources. After a few days, the vegetable will change in texture and aroma, acquiring that distinctive acidic note so characteristic of fermented vegetables.
Step by step: how to ferment vegetables in jars
As you’ve seen, fermenting vegetables at home doesn’t require sophisticated equipment or exotic ingredients. But even so, let’s go through it step by step so that you have no doubts about how to achieve ferments full of flavour and texture:
- Prepare your vegetables. Thoroughly wash the vegetables and cut them into strips, sticks or pieces of your preferred size. The idea is for them to retain some firmness to preserve a good crunch after fermentation.
- Make the brine. Mix water with salt (a useful ratio, as we saw earlier, is 20 g of salt per litre of water) and stir until fully dissolved. This brine will be the medium in which the fermentation takes place.
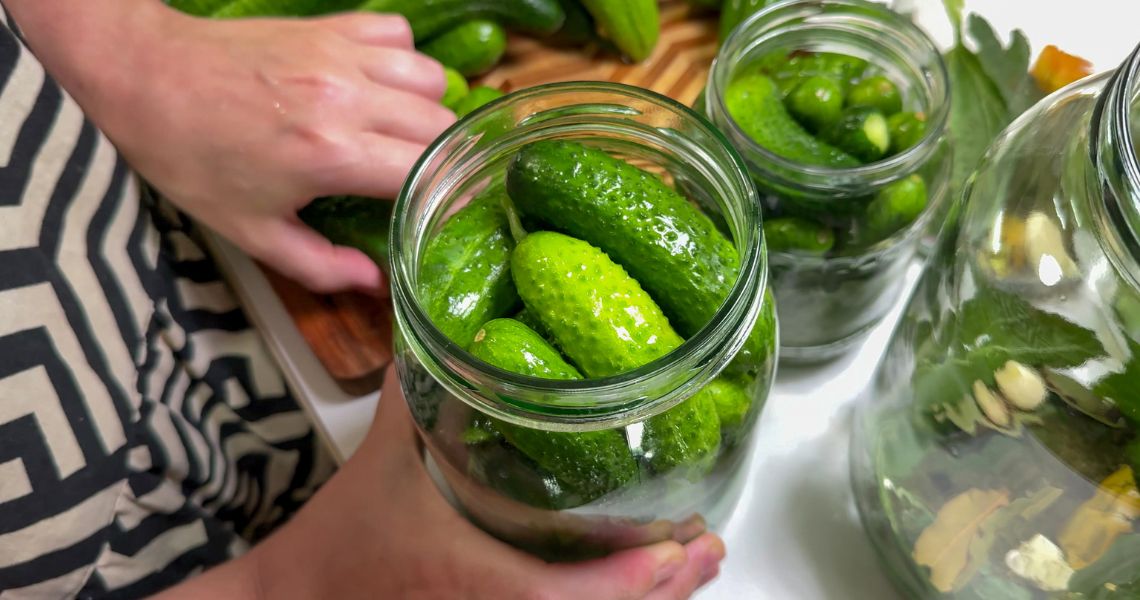
- Place everything in the jar. Put the vegetables into a clean glass jar and pour in the brine until the vegetables are completely covered.
- The importance of sealing. Remember that the vegetables must remain submerged. You can use Fido-style jars with a lid, which allow gas to escape without letting in oxygen.
- Ferment at room temperature. Place the jars in a dark, cool spot or at room temperature. Depending on the temperature and the type of vegetable, fermentation will begin within a few days. The crisp sticks may be ready in around 5–7 days, although denser vegetables may take longer.
- Taste and store. Open the jar and taste your vegetables from the fifth day onwards to find the level of acidity you prefer. Once they reach your preferred taste, store the jars in the fridge.
Vegetables you can easily ferment at home
Not all vegetables react the same way, but some are particularly suitable for starting our fermentation process:
- White or red cabbage (ideal for sauerkraut).
- Cucumber.
- Cauliflower.
- Radishes.
- Green beans.
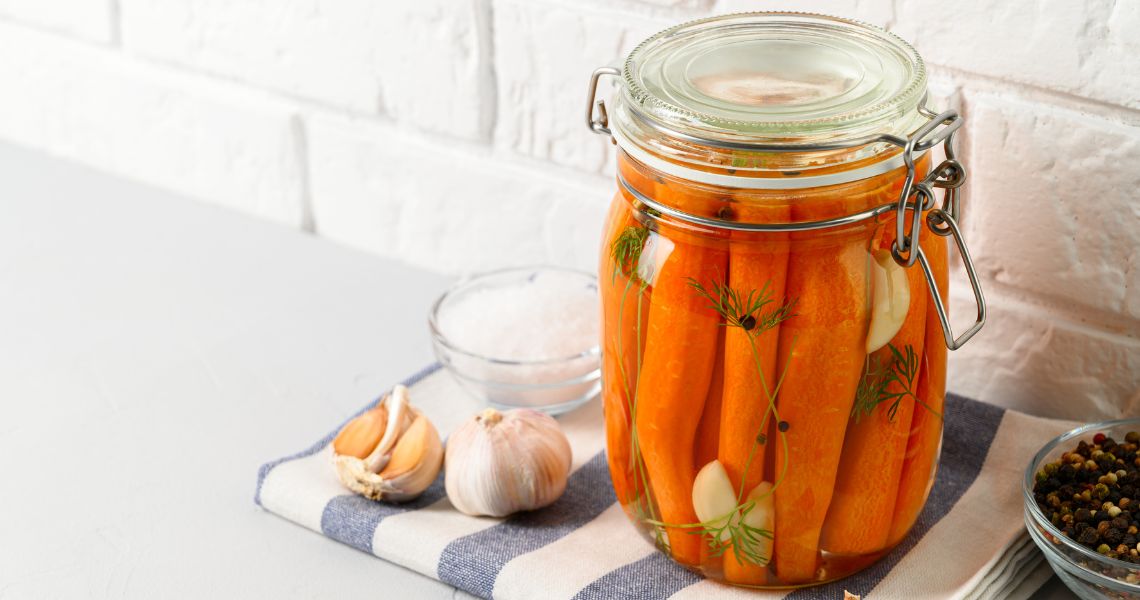
- Carrot (alone or combined with spices).
A fermented carrot, crisp and slightly sweet, is an excellent introduction for those new to this world.
Tips for storing and serving your fermented vegetables
As we’ve seen, once they reach the ideal flavour, you should store the jars in the fridge. The reason is simple: the cold slows down fermentation and helps preserve the fermented vegetables for weeks, or even months. It’s important to use clean utensils when serving them to avoid contamination. As for presentation, you can serve it as a side dish, in small bowls or as an acidic contrast in main courses.
Ideas for incorporating fermented vegetables into your meals
Fermented vegetables are very versatile. You can add them to salads, sandwiches or bowls, use them as a topping for vegetable soups, or even incorporate them into stir-fries at the very end to preserve their properties. For example, fermented carrot pairs particularly well with legume dishes, rice or fish, adding freshness and a distinctive touch.
Frequently asked questions about fermented vegetables
It’s normal to have doubts at this point. Are homemade fermented vegetables safe? Yes, as long as basic hygiene rules are followed and the vegetables remain submerged in the brine. Can everyone eat them? In general, yes, although those with specific digestive issues should introduce them gradually. Do they lose nutrients during fermentation? Quite the opposite, fermentation can increase the bioavailability of certain nutrients.
Getting into the habit of fermenting vegetables at home is an easy way to reconnect with traditional cooking, take care of your diet and discover new flavours, using accessible ingredients that anyone can obtain. Are you ready to give it a try?
What do you think about?
Share comments, opinions and tricks with the Community